Jun 21 2014

Mini Distress Ink Winner and Christmas in June….

I can’t even begin to describe the gratefulness I felt for all of the sweet comments during the Mini Distress Ink Giveaway.  I will be honest… there are times I don’t blog my work because I feel that it is so “simple”.  But, the kind words in the comments helped me realize that its ok to have a “simple” style.  So, thank you, thank you, thank you! 🙂

The lucky winner is:

Barb S says:

I love your card…simple and extremely elegant…and doable! Thanks for the giveaway!!


Congratulations Barb! 🙂  Please email me at [email protected] and I will get the 3 new sets sent over to you! 🙂


I wanted to play for the Inspiration Monthly Challenge.  This month’s challenge is Christmas in June. 🙂  I loved the technique so much from the post, I thought I would try it again.

I grabbed one of the snowflakes from the Grunge Flakes stamp set by Tim Holtz and used my Distress Mini Ink Pads to go direct to paper. (Tumbled Glass, Weathered Wood and Stormy Sky)

Snowflake

I did the same to the Christmas Greeting (from the “Old Fashioned Christmas Set“)  and I had to add that perfect pearl again.  That slight shimmer really really makes me smile! 🙂

So, here is the finished card after applying frayed burlap ink around the edges and adding the black cardstock to mat the images.


Sis and I started watching “Downton Abbey”.  And we were talking about how we are jealous of the letters they receive in the mail.  Sure, we give hand made cards with a gift or hand delivered at a party, gathering, etc.  But, I don’t remembered the last time I mailed a card “just cause”.  I would like to start again! 🙂

Hope you all have a fabulous weekend!

~joy

11 responses so far

Jun 16 2014

New Mini Distress Sets

Published by under Uncategorized

Hello! 🙂  I’m so excited because today, Ranger Ink is releasing 3 more mini distress ink kits!  And guess what!  I have a set of them to give away today!  Look how beautiful kits 7, 8, and 9 are! 🙂

I made this simple card using the mini distress inks with a fun technique perfect for mini ink pads.

I loooooove Tim’s Distress Damask Background stamps.  I took the Weathered Wood Mini Distress pad and inked only portions of the stamp.

Next, I took the Tumbled Glass Mini Distress Ink and added it to other portions of the stamp.

Then I took the Stormy Sky Mini Distress Ink pad and covered the rest of the stamp where there was no ink.

I stamped it on some white cardstock.  Look how fun the different blues inks blend together.

I repeated that process and stamped again.

Keep repeating that step until you have the whole cardstock covered.  (but don’t worry about the middle too much since it will be covered by the greeting)

I used the Frayed Burlap from one of the kits and inked up my Mini Ink Blending tool… Did I tell you how much I love this tool?  I reach for this size more often than not! 🙂

I distressed the  edges of the cardstock.

I repeated the same technique onto the greeting stamp, using the same three colors and stamping it on white cardstock.

I applied Perfect Pearls onto the greeting.  I love that distress inks stay wet longer, so the perfect Pearls have time to adhere to the ink.

It’s hard to capture the beautiful shimmer it has.  But, I love that extra little “bling”. 🙂

I then applied frayed burlap distress ink to the edges and used black cardstock to mat my images.

And below is the finished card. 🙂

Please leave a comment and I will select a random winner.  Can’t wait to send these to someone! 🙂

Thanks for stopping by!

~joy

274 responses so far

Apr 20 2014

Happy Easter! :)

Published by under Projects,Ranger,Sizzix

Hope all of you are having a fabulous Easter Sunday!  I’m looking forward to spending the afternoon with my family.  It’s always fun to spend time with my grandma, parents, siblings, nephews and cousins.

I made a little easter card to share with you today. 🙂

I love love love tim holtz’s distress stains… I don’t have to have a bunch of colored paper… I can take a white piece of cardstock and make my own colored cardstock.  So easy peasy! !:)

I am so addicted to stencils!  I love the lattice stencil from tim holtz. I apply a little tissue tape to the cardstock and stencil so that it doesn’t move around when I am applying the ink to the cardstock.

The mini ink blending tool is so perfect for stencil use.  Much easier to control to get into crevices.  And I love that you can kind of see through the stencil so you have an idea of where you are applying the ink…

But the REAL magic is when you take off the stencil… I always say “ooooh!  Aaaah!” whenever I take that stencil off.  LOL (really, I do…) (and even though my Lakers are out for the season, I couldn’t help but go with Laker colors. 🙂 )

Now, for the next part, I got so into the project that I forgot to take pictures.  LOL.

I used Mowed Lawn Distress stain on tim’s Tapered Fringe Decorative Strip Die.  Again, didn’t have green cardstock, so the stain was perfect.

I die cut the mini bunny out of brown cardstock and then applied Sparkly Fluff using  a 2-way glue pen.

And you can’t have an Easter project without some eggs… I love this 2-step stamping eggs in the Nature Walk stamp set.

I realized I didn’t have an lilac cardstock for the card base… so guess what I reached for… yup, the Lilac Stain….  And since you will be covering up most of the card, you only need stain on the outer edges.

Thanks for visiting today!  Here it is all put together. 🙂

Wishing you a happy Easter!

~joy


Oh…. I hope you are playing along in the Inspiration Emporium Egg Hunt.  (you can read the details here)  Hope you found my letter! 🙂  For the next letter, please visit Jennifer McGuire’s Facebook Page.

Happy Hunting!

80 responses so far

Dec 17 2013

Another great mini vacation….

Published by under Life,tim holtz

Well, I’m back to “reality” after a great mini vacation.  I took a week off of work to spend it with some of my favorite people…. doing some of my favorite things…. (unfortunately Jordan and the rest of the New Kids were busy, so they were not able to join in the fun.  LOL!)

My vacation started Friday, December 6 after I got off of work.  My mom surprised me with concert tickets to see one of my favorite acapella groups… Committed.  I was a HUGE fan of them when they were on the Sing Off during the second season.  Our family was so happy they won.  These guys are so talented, so humble, and so much fun to watch.  it was also fun to spend the evening with my mom…. just me and her… no sister, no father… just good mom and daughter time. #blessed

The weekend itself wasn’t much of a “vacation”….   It was the usual… running around with my nephews and niece.  Ballet practice, baby sitting, sleepovers… but I wouldn’t have it any other way.  I cherish my family time and my siblings know I would do anything for them and their kids. 🙂

Then Monday…. the fun begins again.  I was able to get ticket so see a Live taping of  The Voice.   So, my mom took the day off and joined my cousin and I as we headed out to LA to watch the taping.  My mom was so cute… so excited…. she had never been to any tapings before.  We met with Dindi for Brunch at a cute little cafe with amazing food.

At first, my mom was nervous… no cell phones allowed… so she asked what we would do from 1-7?  I told her that we have to actually “socialize” with each other… no interruptions. 🙂  She couldn’t believe how fast the time flew by.  We were entertained waiting to get trammed into the studio by the guys that work for 1iota.  Then, when we got escorted to our seats, we were happy that we were SITTING vs standing in the pit.  And not only that, but we were sitting on Adam’s side…. aka #sexiestmanalive 🙂   At first, we got super excited because we were by the sky box… but then we realized that they only use it on the Tuesday Results show.  Much to our surprise, they used it once… and when they did use it, it was to promote the singoff, so we got to see Nick Lachey and Shawn Stockman…  When we saw them filming, we were like “oh, I guess you won’t see us… the camera angle was pretty tight”.  Well, to our surprise, as we were watching the voice that (k)night, mama started jumping up and down cause we saw ourselves on TV.  LOL…. oh the little things that make us happy.


I had to get to bed early… since I still had to pack and be out the door by 3:30 am to hit the road with my dear friend Chelle….  We were heading out to our winter wonderland…. Road trips with her are so much fun… good snacks, good music, good conversation.

As soon as we got there, we were taken out for some lunch and a little bit of shopping for booth props and inspiration.  I loooooved being in the nice winter wonderland with the snow…. I had my boots on and long coat… but apparently, I didn’t get the memo of the tennis shoes.  lol

For the next few days, Chelle and I helped Tim and MJ get ready for CHA.  Whether it was getting kits done or working on samples, we had fun just being there.  Does it really count as “work” when you are doing something you love with people you have a blast with? 🙂

I even got some web work done while I was there.  I totally enjoyed doing my geek thing with company rather than all by my lonesome. 🙂  (Thanks MJ, Chelle and tim for these pix)

But, one of my FAVORITE things about going to Prescott is MJ’s amazing cooking… and we ate GOOOOOOOOD this trip.  Chelle made this collage of the wonderful things we got to eat…. I don’t know which ones of these is my favorite.  Everything was so yummmmmy… even his coffee… I think he puts crack in it.  LOL!

As much as I loved staying in Arizona, I had to get back home… before my sister’s birthday… so Chelle and I hit the road once more….

My baby sister turned 35 on Friday the 13th…. so I threw her a Maroon 35 themed party! 🙂  My sister is already a rockstar, so this was like 2nd nature to her.  lol.  We made VIP badges for everyone (2nd pic) and handed out lanyards and swag bags as they walked in.  My cousin Pop, our “tour manger”, checked in the VIP guests.  Look at her all cute doing her job in pic #3.  Then, on our VIP lanyards, we got a photogroup letter… just like at a real concert.  I loved that everyone played to the rock n roll theme…. I even added some streaks to my hair.  (well, I clipped them on anyway…lol)

After eating yummy food from the taco man, we got in our photogroups to take our photos…  Pop escorted my sister into the photo area where we had set up a backdrop that looked like a concert stage.  When she walked in, we all cheered and screamed like as if she really was a rockstar in the band.

Pop got us all lined up in order of our photogroup letters.  Below are a few pix of our photo session.  We had such a blast with the rockstar props from their swag bags.  and I loved watching my sister enjoy her evening. 🙂   I wish I could have captured a few moments like my grandmother doing duck lips with the rock n roll hand gesture.  I wanted to put her temporary tattoo on her neck.  that would have been classic.  lol

I ended my vacation organizing my craft room a bit… I loved looking at my new dies and getting them in their proper containers. 🙂  And I also got inky getting some samples done for CHA. 🙂

It was a perfect mini vacation…. I need more of those. 🙂

xo!

~joy

36 responses so far

Nov 26 2013

Joyful Pop

Published by under Stampers Anonymous

I’ve been cleaning up around my craft room…. trying to get organized and as my friend Heather put it, hitting F5 (refresh).  I recently came back from Italy (I started a blog post on it… but never completed it… so wordy… but I hope to finish it up this weekend)…. and it was such an inspirational trip… I enjoyed my chats with my friends Chelle and Heather… talking about how we all miss creating and that we have to each make time to do it. 🙂


Well, it has been AWESOME getting inky almost every (k)night the last couple of weeks.  In my monthly stamp club (aka JoyClub or StampKnight), the technique I chose was emboss resist.  We made 3 cards using that technique (+1 using the technique from the month before).  I love bringing the “oldies” back when it comes to techniques.  We sometimes forget how fun they are.


Tim Holtz’s stamps were perfect for this technique.  We first started by inking the gorgeous background stamp from his “Paris Memoirs” set with embossing ink.  Then, we sprinkled clear embossing ink over it and melted it with our heat tools.  When you apply the different inks over the image with the ink blending tool, the embossed areas resist the ink.  The darker the ink, the more the image pops out. 🙂  The Eiffel tower image was a bit larger for project, so we used the smaller one that is in his “Paris to London” set.  I love that he came up with the set of smaller images. 🙂


That card totally inspired me to make tags for our Inspiration Emporium customers.  So, one (k)night, I began to catch up on “The Voice” and made these tags. 🙂  (Crafting + Adam Levine = Heaven!  LOL)

Until next time…. 🙂

~joy


One response so far

Oct 07 2013

Apthocary Rusted Enamel


When I learned how to do the Rusted Enamel technique from Tim Holtz’s Creative Chemistry 101, I was HOOKED!  I love this technique and I was using it on everything! 🙂  When I saw his cute Apothocary dies come out, I knew I had to try that technique on them.

Speaking of Creative Chemistry…. CC102 just started this morning and I am already blown away by the inspiration.  I can’t wait to try the Eroded Metallics Technique!  If you haven’t taken 101 or haven’t signed up for 102, I highly suggest it.  I am constantly learning from that man! 🙂

Anyway, back to rusted enamel…. I love love love this technique.  and i love that you can use whatever colored inks you like.  For this card, I used fired brick on one bottle and iced spruce on the other.  After inking direct to paper, I applied the embossing powder.  I love how distress ink stays wet enough to let embossing powder “adhere” to the project.  I flicked off some of the embossing powder, even rubbed some areas and then heated the embossing powder.  Then I took my ink blending tool and ran it over the image with walnut stain.  So cool to see the Wanlut Stain take over the image wherever the embossing powder was removed.  Such a cool effect.

For the red bottle, I used a small snipit of the Laboratorie Paper Stash.  That poison label was the perfect size.  For the other bottle, I used the crossbones from idea-ology.  I seriously love that finding.

And I just love using that Tissue Tape as a cool border around some cardstock.

This card was so much fun to make…. 🙂

Until next time….

~joy


InLinkz.com

7 responses so far

Oct 04 2013

Evidence….

Published by under idea-ology,tim holtz

How oh how is it October already?  Where has this year gone?  Seriously… I feel like I just blinked and 3/4 of the year is over…..

I love October… it usually means cooler weather… (but lately its still been warm here in SoCal) and I love the spooky decorations for the Halloween season.  I will be missing halloween at home this year… but I am NOT complaining.  I am lucky enough to take a trip of a lifetime to Italy with my amazing friends.  can’t wait for that.  Until then, I am going to try to create as much Halloween decor/cards as possible.

Here is a card using a bunch of the new Tim Holtz Idea-ology products…. what?  no stamping?  lol

For the main image, if instead of using a stamped images, I used one of tim’s new Remnant Rubs – Apothecary.  I love how smothly the rubs transfer onto the paper.  So smooth.

I used the Tissue Tape to create a little border next to the image.  I sure love that new tissue tape… and chevron, too?  I’m in heaven.

And I looooove patterened paper.  When I saw tim’s Laboratorie paper stash, I fell in LOVE. Each piece so beautiful that I had a hard time cutting into it.  LOL  I love love love the smaller prints.  So perfect for card making.

His new Trimmings are awesome too.  So versatile.  You can even in them up for a different effect…. but I loved the black and natural just as it was for this project.

And the perfect findings to finish off the project…. just when I think tim can’t come up with any more cool items, he does.  The word bands are so fun!  I love the larger font in this observations pack. I just added a littler white paint to help the word POP.  And that skull… oh how I love it!  I see some Goonies cards or Pirates of the Caribbean coming! LOL

Thanks for stopping by!  Happy October!

~joy


2 responses so far

Jul 29 2013

Back from CHA….

Published by under Life

Well, I’m back to reality…. got to spend the last week in Vegas for Summer CHA….. I was totally inspired by the new products that were showcased, but I think I was equally, if not MORE inspired by the people that were there.  There is something about the crafting world… the people involved are some of the kindest people I have ever met!

I can’t wait to share some of the adorable products and samples from the show… but that will be later this week.  Today, i would like to focus on the people and the adventure… my true inspirations for my love of crafting…..

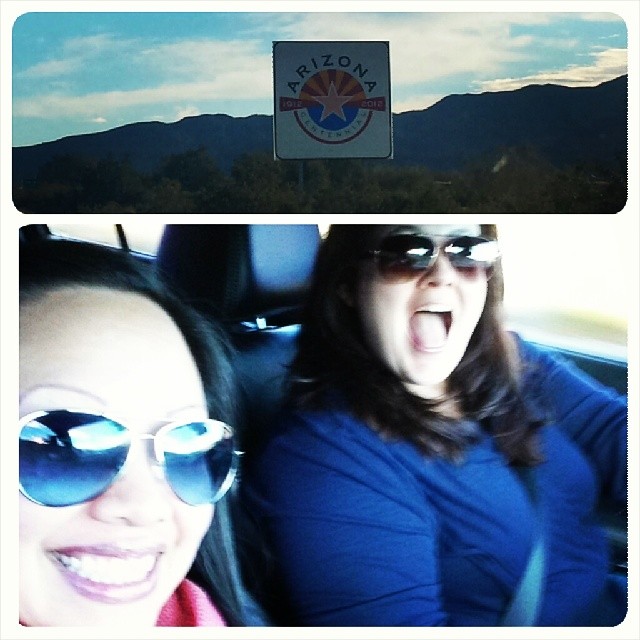
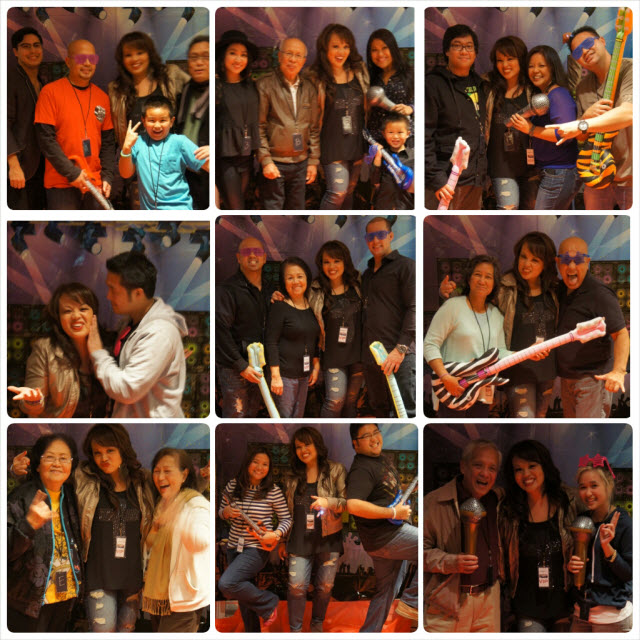
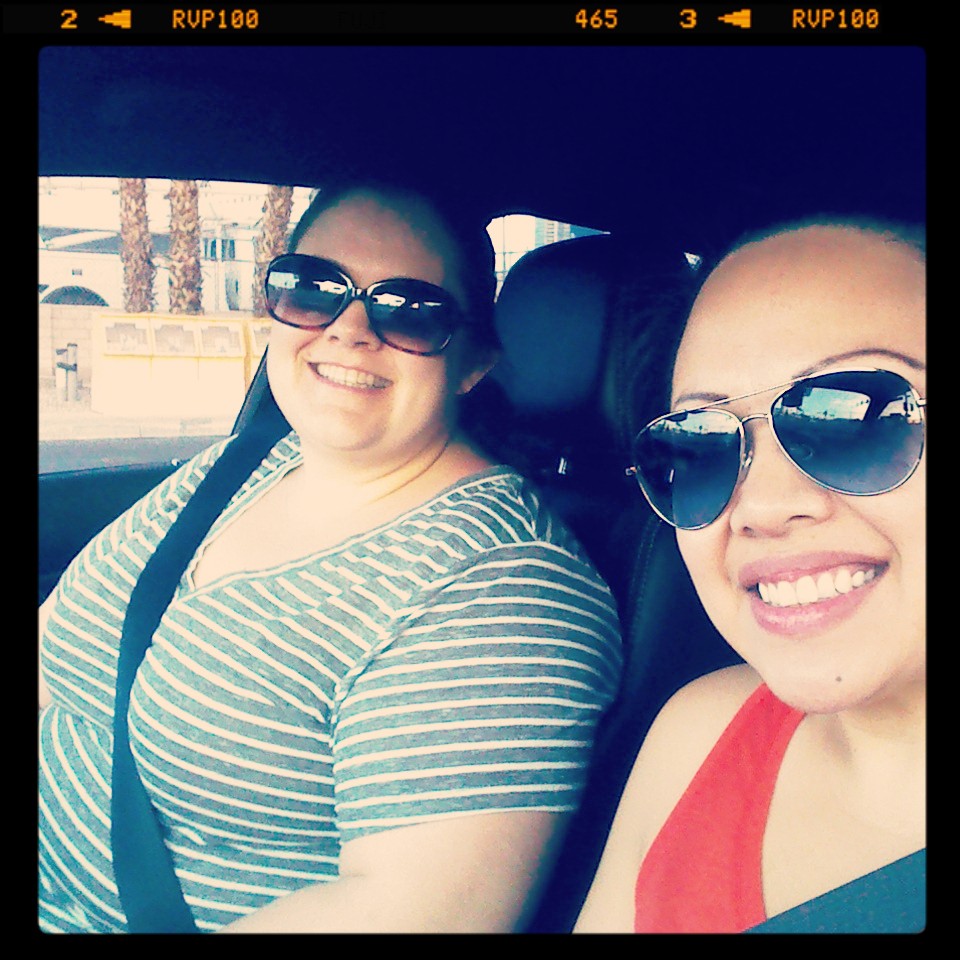
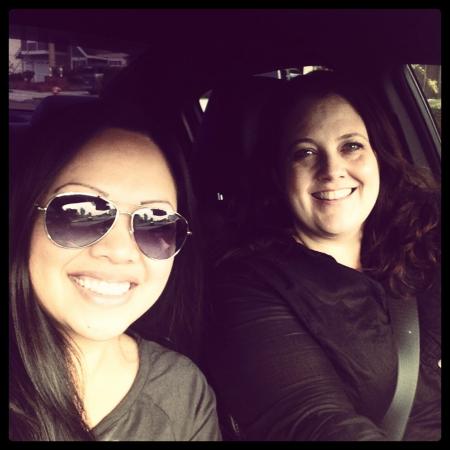
Saturday afternoon/evening, my dear friend Chelle came over to pick me up for another amazing Road Trip.  I love my road trips with chelle.  We get to catch up and chat about our lives… we sing our hearts out to whatever is on my iPod… whether it be Wicked… or more recently, New Kids on the Block.  I love her for putting up with my craziness and addictions. LOL

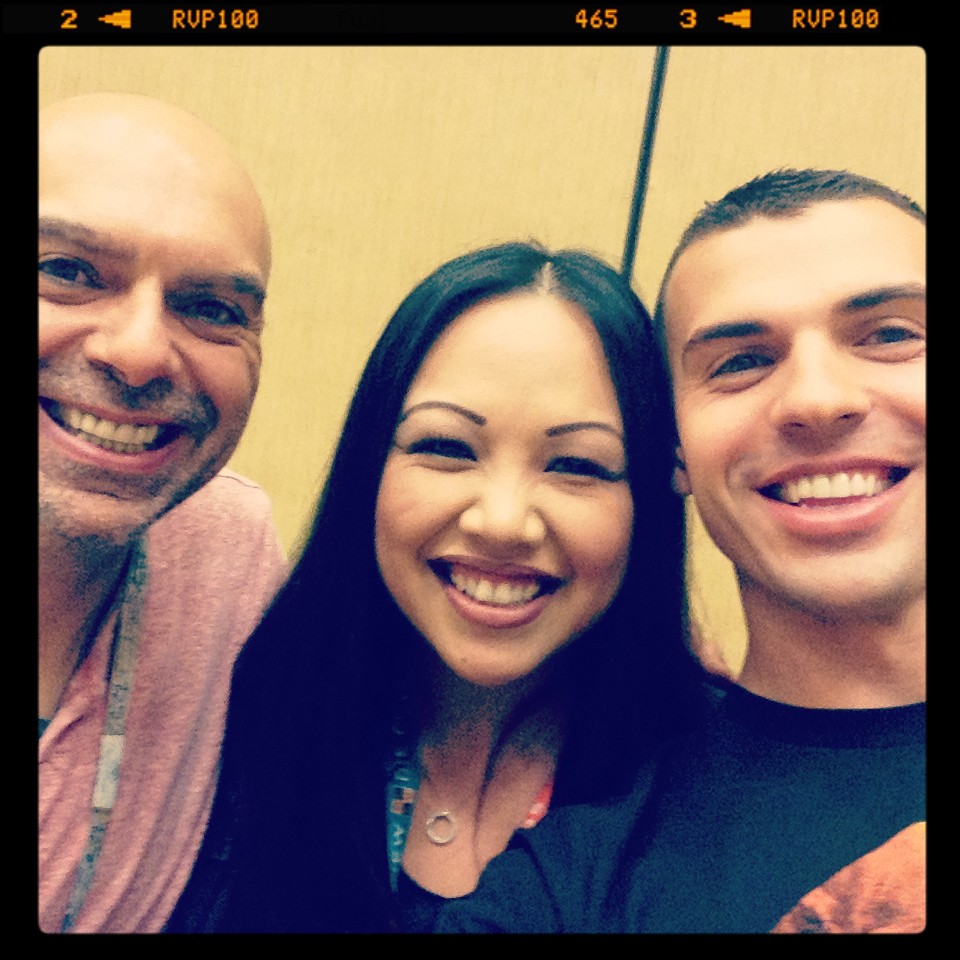
We got into Vegas pretty late at (k)night… but we were happy to run into MJ and MJ3 in the lobby, so we were able to spend a little bit of time with the boyz before the CHA craziness happened.

It was fun to be able to help with classes and booth set up… I say help loosely… since I am not much help when it comes time for decorating the booth.  I don’t seem to have that “vision”. But, I am there for moral support and comedy relief.  LOL! (in reality, I’m just a dork that seems to get in the way.)

It was fun to be able to hang out with Mr. BluePrints, MJ3.  I loved seeing how MJ3 and his lovely wife Sara experienced their first CHA. They were able to see how much their hard prep work is appreciated. 🙂 (and of course, I always love my time with his pops Mario, aka MJ)


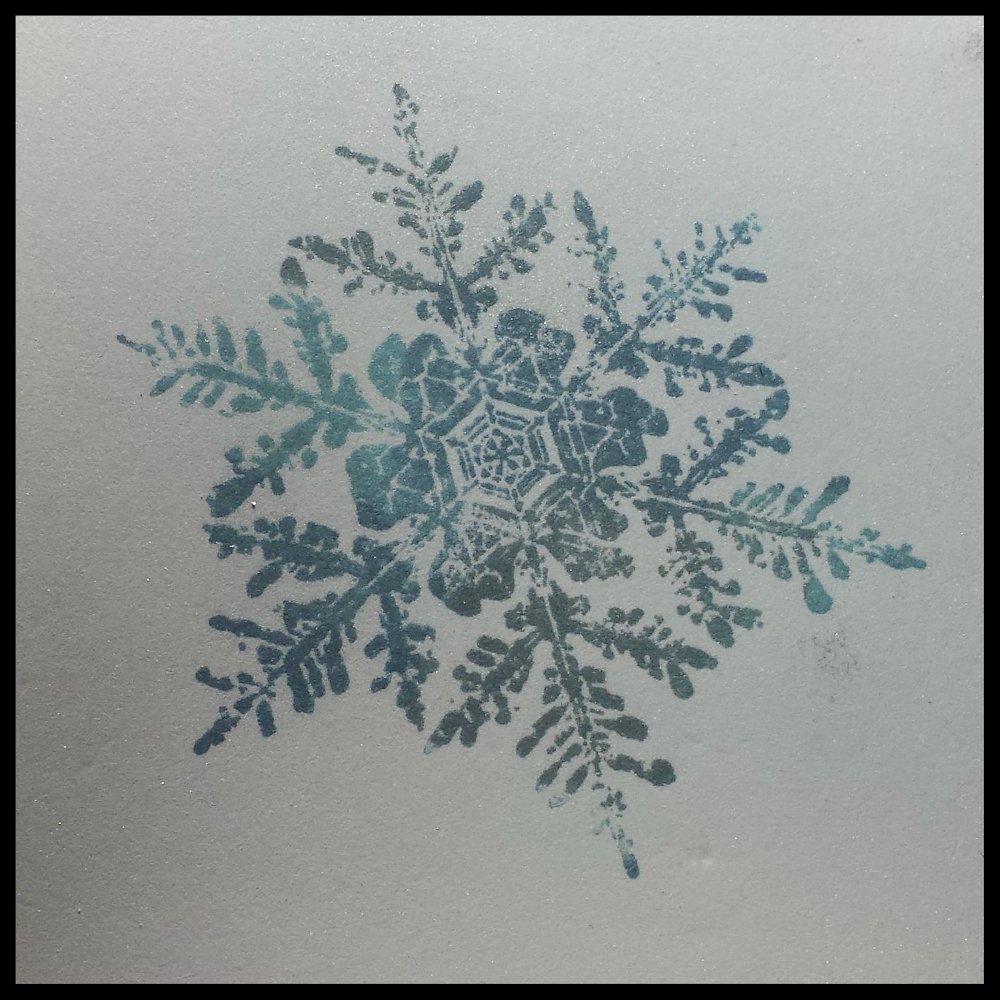
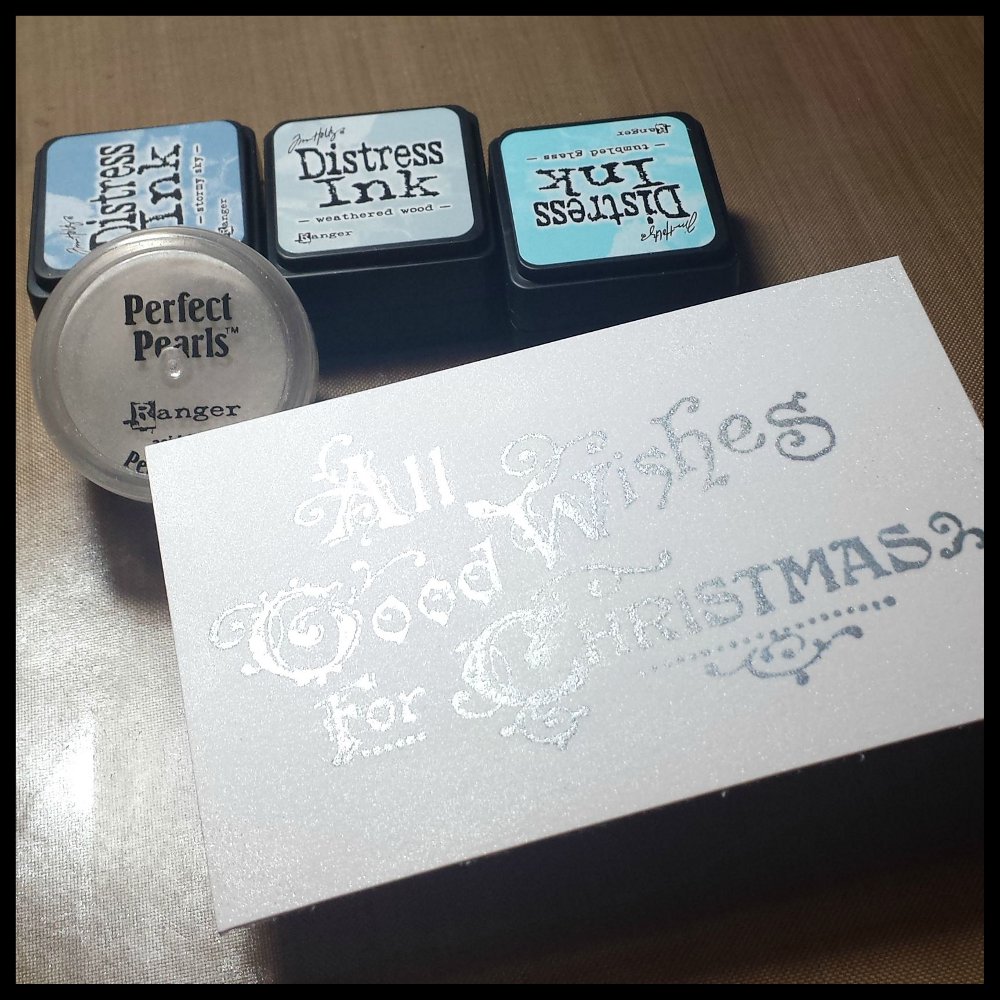
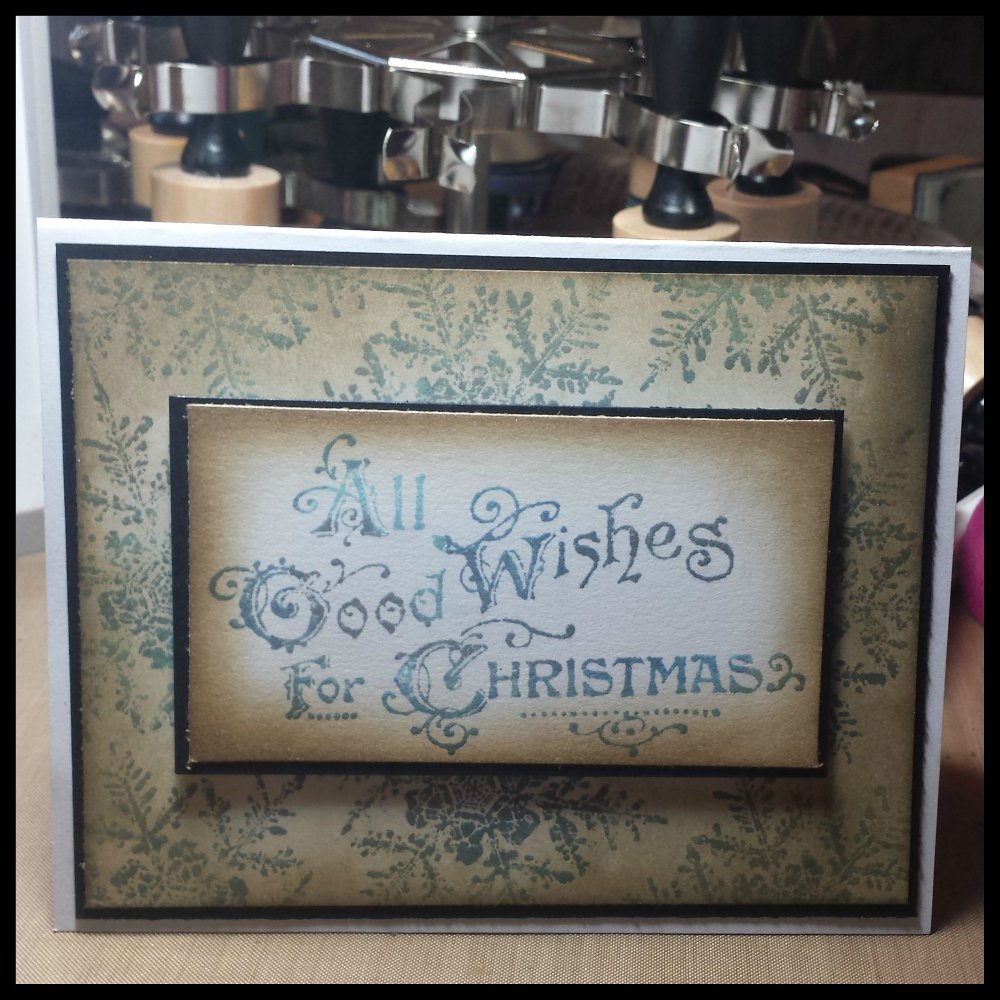
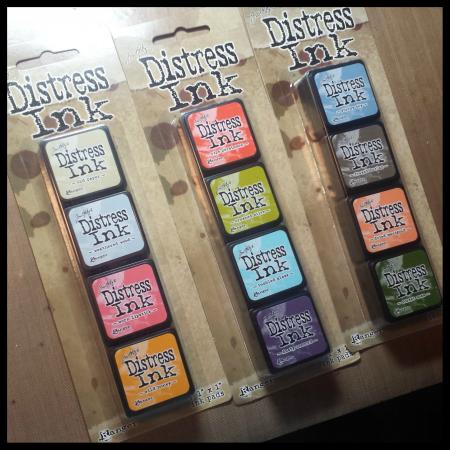
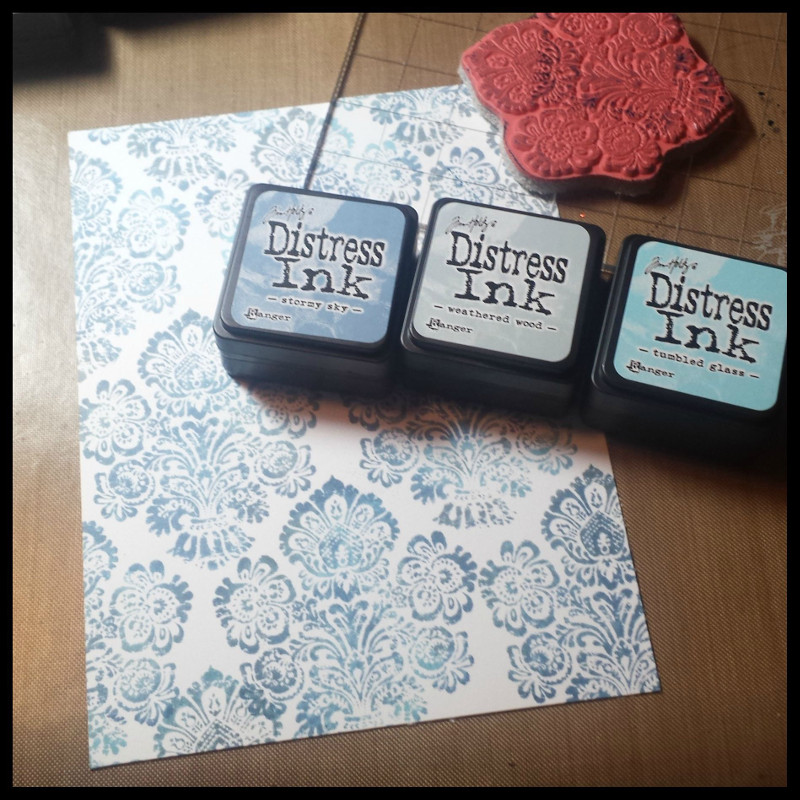
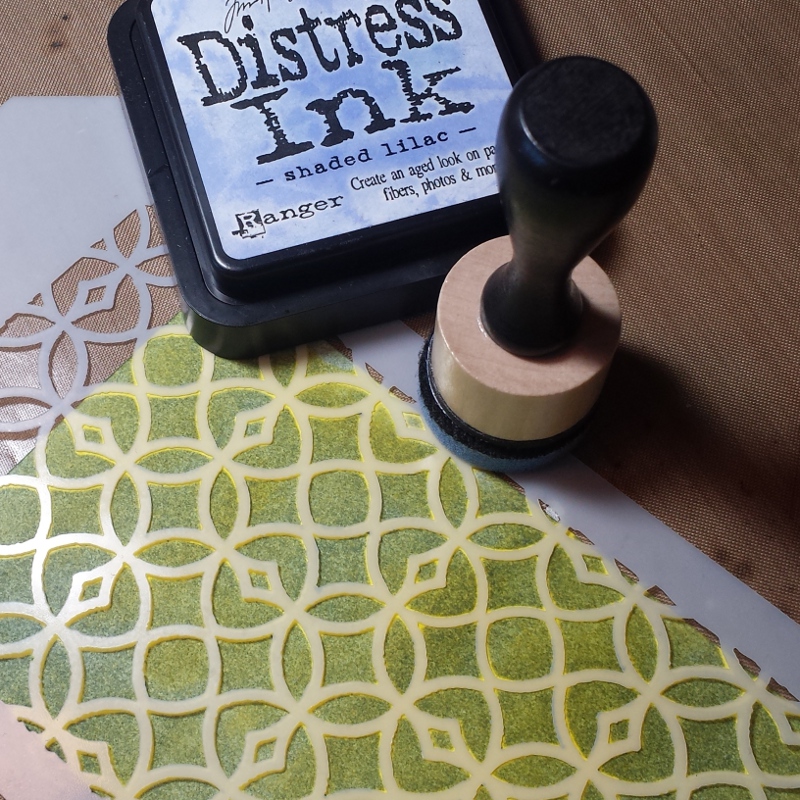
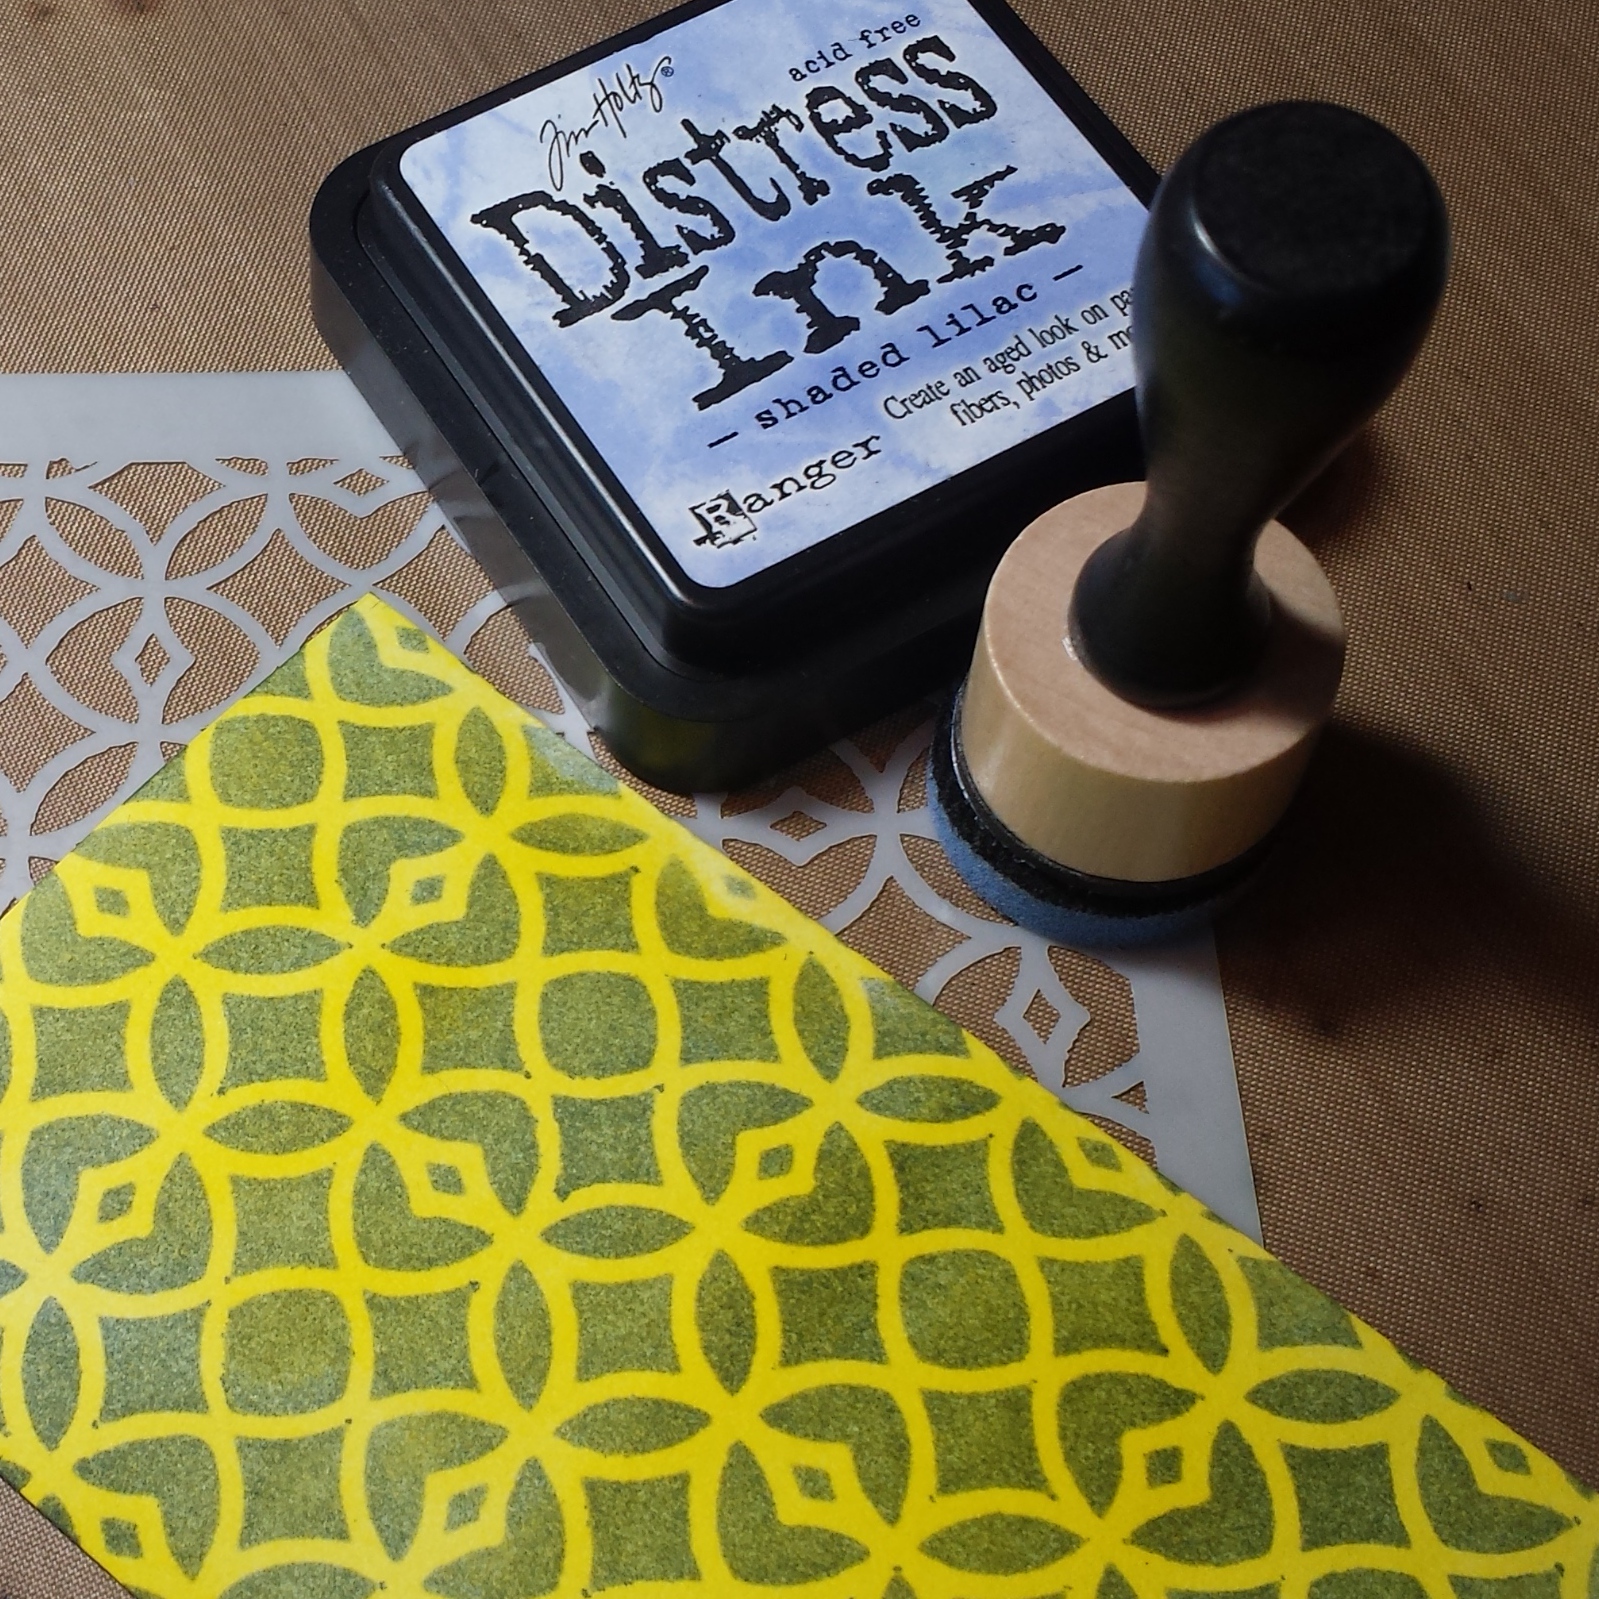
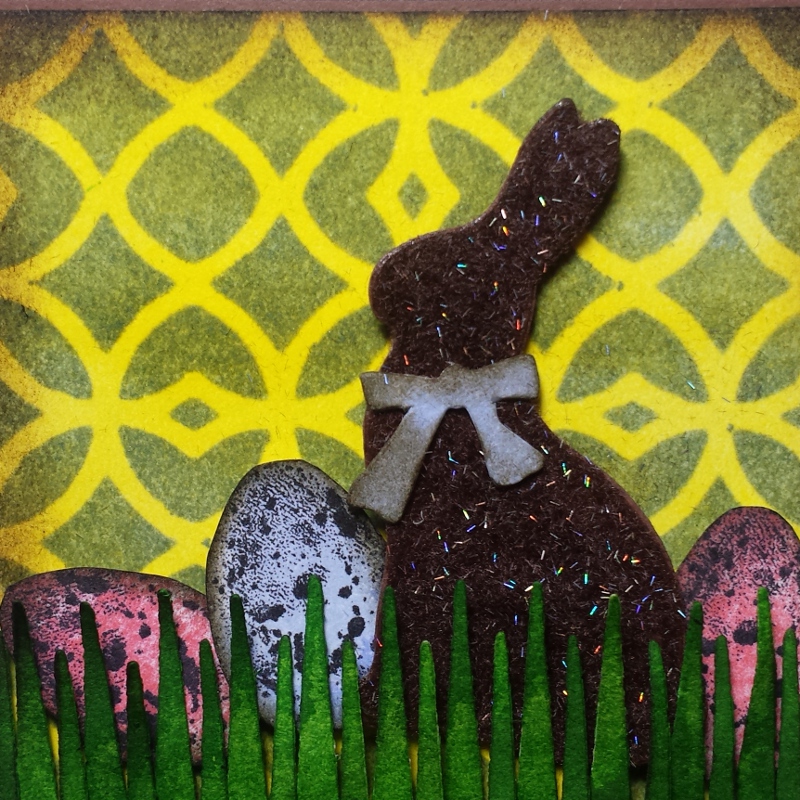
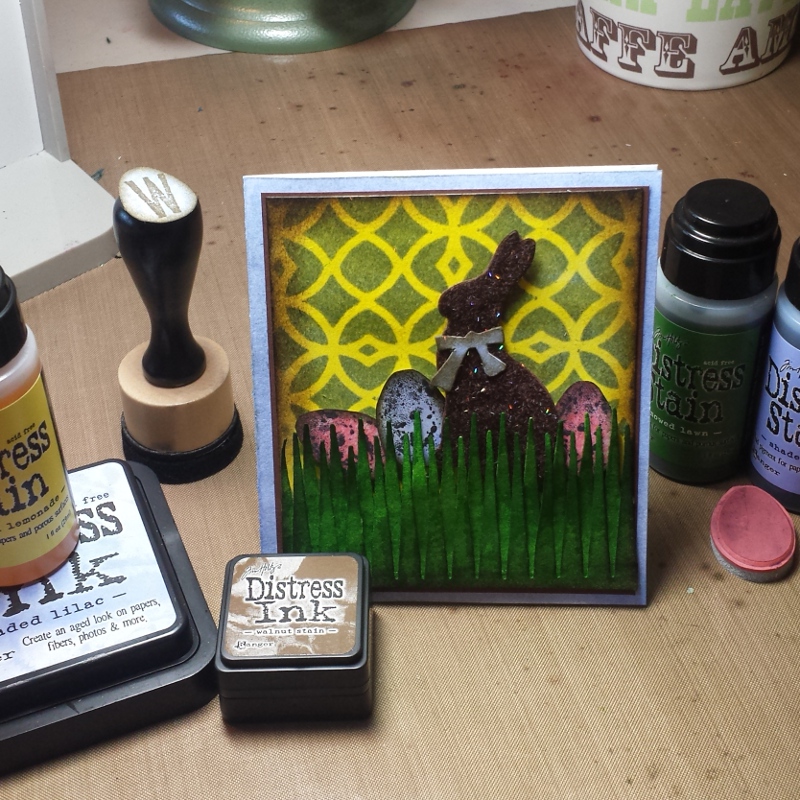
Day 1 of the show was exciting! Ranger was releasing a “mystery product”. I loved seeing the excitement as everyone hustled to get to the Ranger Booth to see what this mystery product was.  Loved that everyone was excited about Tim Holtz’s new distress glitter.

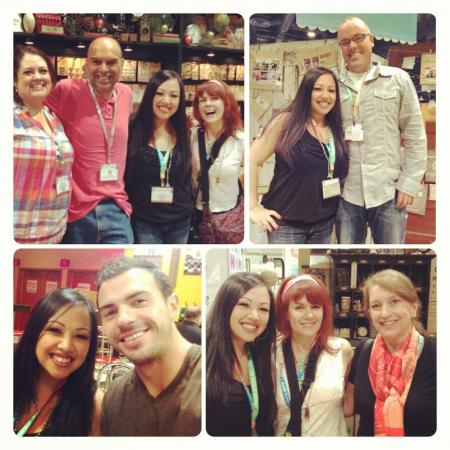
I also got to see some good friends that I hadn’t seen in a while.  I love that we can all get together at CHA and pick up right where we left off! I loved seeing Shelly Hickox, Kelly Booth, Linda Ledbetter, and Cambria Turnbow…. not to mention all of the other people that I wasn’t able to get a pic with….


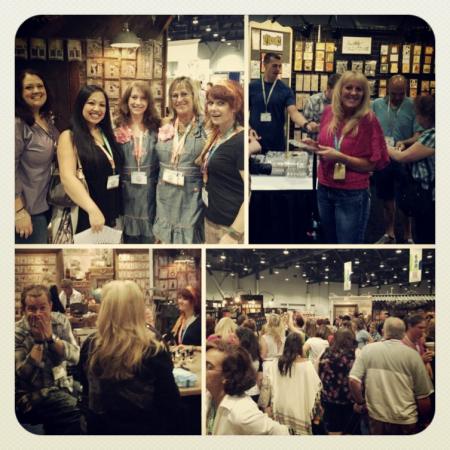
On Day 2, chelle and I were able to walk around the show in a more “organized” fashion… making sure that we went aisle by aisle and did not stray or start wandering the wrong direction. 🙂  It was a smaller show, but always interested to see what is available at this show.

MJ3 had to leave… but Joe was able to come on Day 2 and he got a taste of what CHA was about.

And I got to hang out more with the girls… oh how this bunch makes me laugh!  Good good times!  Thank you Paula, Tammy, Sarah, Richele, Chelle, and Deb for all of the giggles.


I couldn’t believe Day 3 came so quickly…. It was already time to start saying goodbye to people…. whaaaat?  Didn’t we all just get here? And I kept the tradition of closing the show with my friend Jared Sanford of Fancy Pants… Always fun talking sports and family with that guy!

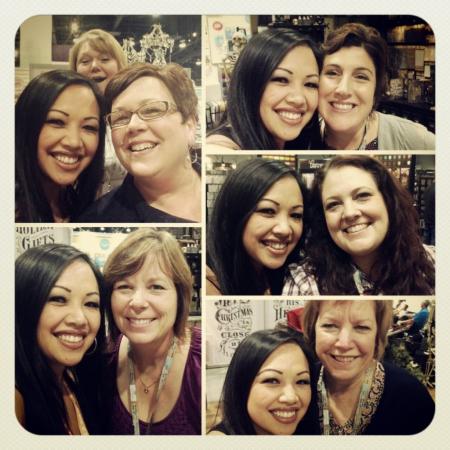
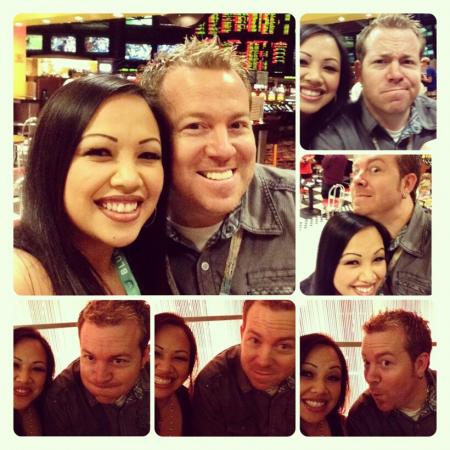
I also got to actually see that one guy… tim holtz!  LOL! he’s such a busy guy at these shows… but I got to sneak in a few selfies when I could.  heehee.  I absolutely adore this guy. He is such an inspiration to me… not only creatively, but in my every day life.  And he makes me laugh… so random this guy… and I wouldn’t have it any other way!

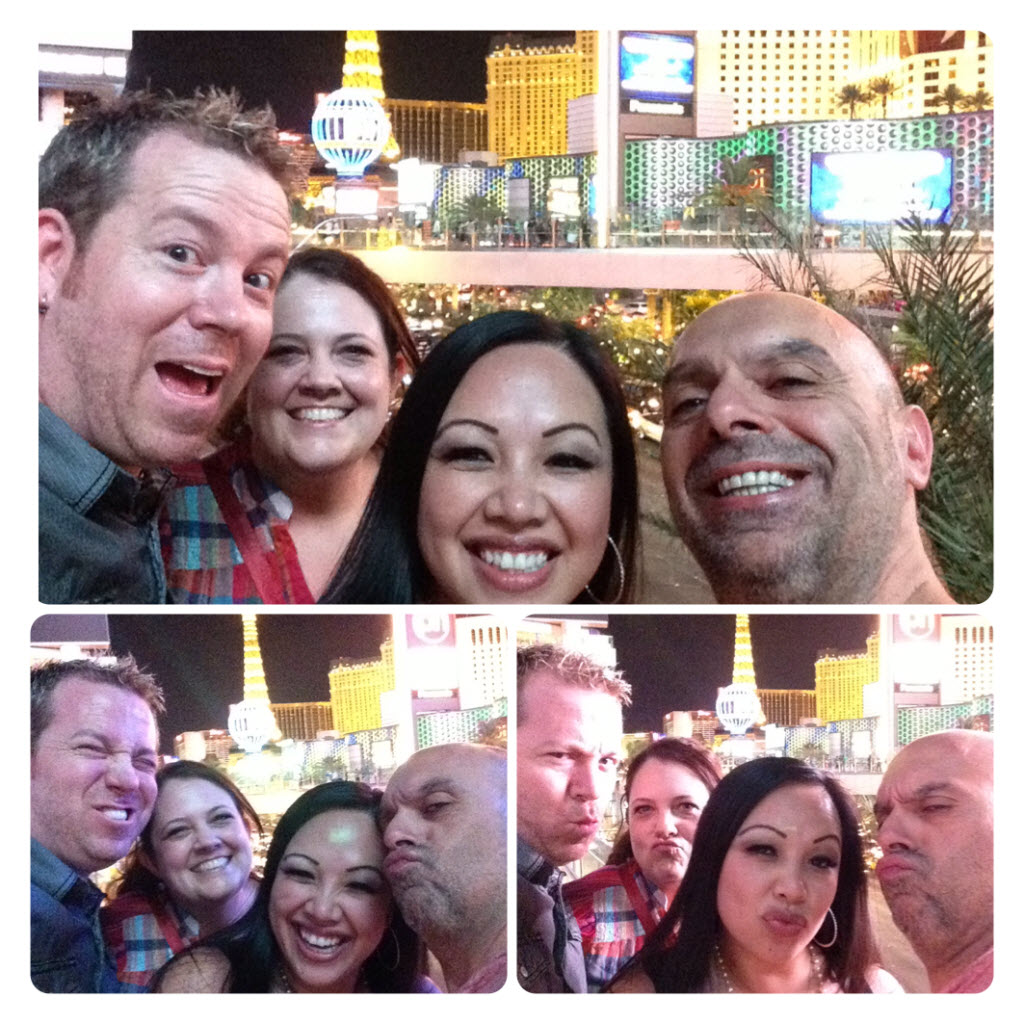
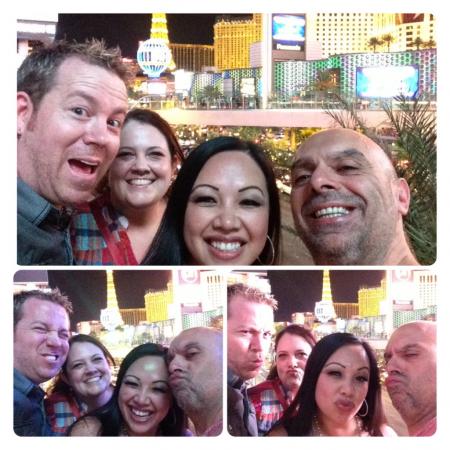
Chelle and I decided to stay one more (k)night in Vegas. So after dinner, we headed out to see the new hotels on the strip….oh my… I felt so bad…. I wanted to see the Venetian again and I didn’t realize how far it was from these newer hotels.  So, I had them walk… and walk… and walk… in that Vegas Heat.  Sorry gang! But, they were such good sports putting up with the strip craziness, heat, and smoke.  All that… for some gelato.  LOL! 🙂

6 am came pretty quickly the next morning… we had a little amazing race going on since Chelle and I drove out… and we had to pick up the boyz from the airport in Orange County later that morning.  We prayed we didn’t hit any traffic or else the boyz would win… and they would be stuck at the airport.

Another great road trip with Chelle!  I couldn’t believe how fast the time went.  We just chatted about the happenings of CHA… products, samples, events, things that made us laugh! Time always flies with her. of course NKOTB and Maroon 5 were playing in the background almost the whole time. LOL!

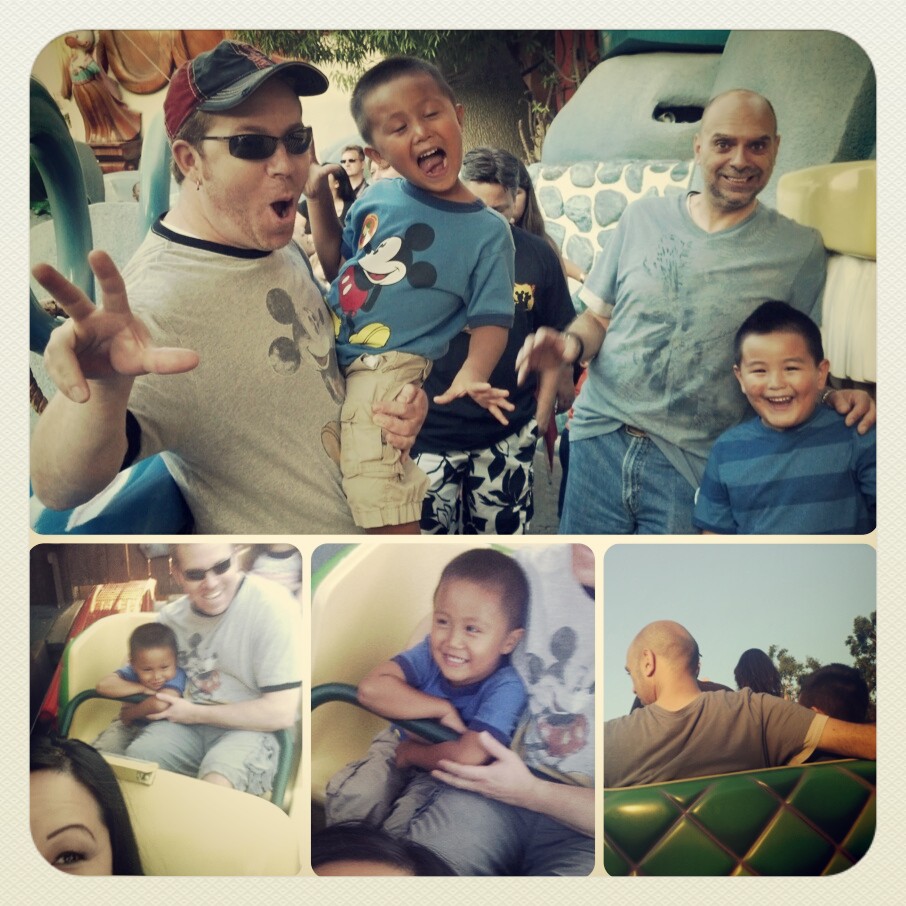
Once we got the boyz, we headed to Disney to celebrate my bestie’s birthday! 🙂  I am grateful every day for my friendship with MJ!  He is so kind hearted and so generous!  I’m a lucky girl to have him in my life!

We met up with sis and my nephews.  Boy, did those kids get spoiled.  Tim and MJ were so amazing with them.  Always so cute to see how much the boys love the boyz!  I truly love it!!!!

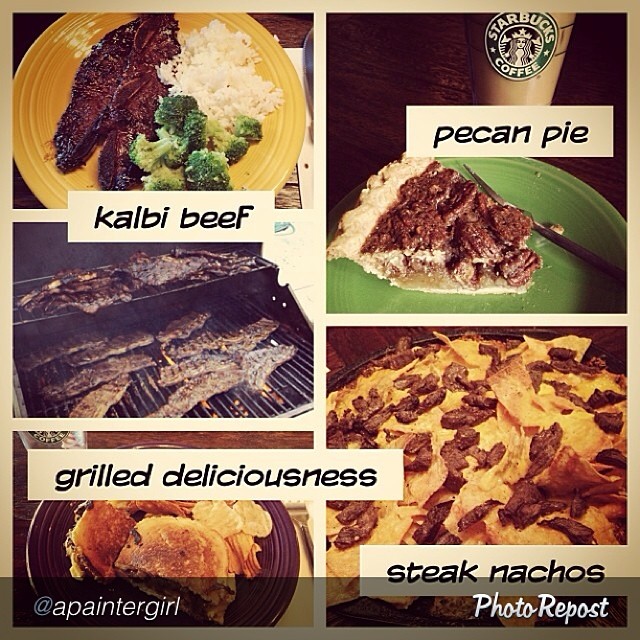
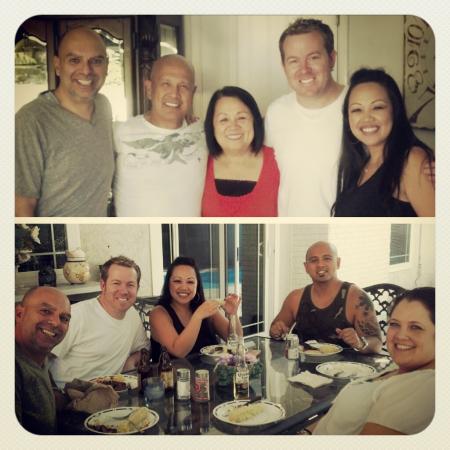
The next day, before the boyz had to head back to Arizona, we were able to share some of our daily lives with them.  We got to visit Chelle’s starbucks (my first time there, too), see her booth at a junking place, and spend time with my family.  It means so much to me when my Prescott Family and my Cali Family are able to hang out, laugh and just be one big happy family!

And just like that…. the CHA week was over….

I say it over and over again…. I am lucky girl…. amazing friends & amazing family… what more can a girl ask for?

Sorry so long winded… until next time! 🙂

~joy

12 responses so far

Apr 23 2013

Crayon Resist

Do you remember the first “wow” technique you learned as a stampers/crafter?  Mine was Crayon Resist…. It was my favorite technique…. I almost “forgot” about it until I was asking my Monday Club girls what technique we could do.  Someone asked me what one of my “old school faves” was… and of course, this is the technique that popped into my head! 🙂  So simple… but still WOWs me until now!

This is one of the cards we created for my Monday Stamp Club.  We started with stamping this gorgeous butterfly from the Easter Blueprints stamp set using Ranger’s Archival Ink in Jet Black.

I took a white crayon (thanks Anne) to highlight parts of the image where I want the crayon to resist.  Its a bit tough to see the white on white, but you gotta just trust your judgement. 🙂

We used Ink Blending Tool to apply the Walnut Stain Distress Ink Pad to the body of the butterfly.  Can you kind of see where the crayon is resisting the ink?

Then we used the Worn Lipstick Distress Ink Pad for the upper wings.  Now the crayon is really starting to pop.


Lovin’ that Shabby Shutters Distress Ink on the bottom of the butterfly.  And lovin’ the POP of the crayon resist.

Then we added my favorite color… Broken China to go around the rest of the image.

We just rubbed a little Walnut Stain Distress Ink around the edge of the image and then put the rest of the card together.  The sentiment is from the Simple Sayings stamp set… LOVE LOVE LOVE that set! 🙂  It has a permanent spot on my craft table.

Crayon Resist… its an oldie… but definitely a goodie!

Thanks for stopping by! 🙂

~joy

20 responses so far

Jan 28 2013

Love….

and by love…. I do have to say that I am in love with all of the tim holtz/MJ3 blueprint stamps.  🙂  And the Valentine Blueprints are no exception.

Tonight, our card class will be focusing on Perfect Pearl Mist.  And with Valentine’s Day coming up, this is one of the cards that we will be making.  Perfect Pearl Mist adds that perfect touch of bling/sparkle without it being too overbearing.

It’s so hard to capture how gorgeous the Perfect Pearl Mist is on that heart.  I tried taking a photo… but all you see is the glare.

I paired up the stamp with the Alterations Texture Fade.  Goes so perfectly together….

I used a plain piece of Neenah cardstock and made it pink by running Worn Lipstick Distress stain over the entire piece. (I love how you can create 48 different colored cardstock so quickly just by using the Distress Stains over the cardstock)  After the cardstock dried, I ran it through the Valentine background texture fade.  I used the ink blending tool to run Frayed Burlap Distress Ink over the high points of the texture fade.

For the conversation heart, I stamped the image twice.  After coloring the one heart red, and spraying Perfect Pearl Mist, I cut it out and popped it up over the stamped image.

I will also be doing another “Race for the Cure” in Los Angeles on March 23, 2013.  For one of the fund raisers, I am selling some of my homemade cards.  The category is in the works, but for now, we have this card up for sale. 🙂  Proceeds go to help fight Breast Cancer.

Thanks so much for stopping by! 🙂

~joy

7 responses so far

« Newer Entries - Older Entries »